Entries Tagged as 'Kids'

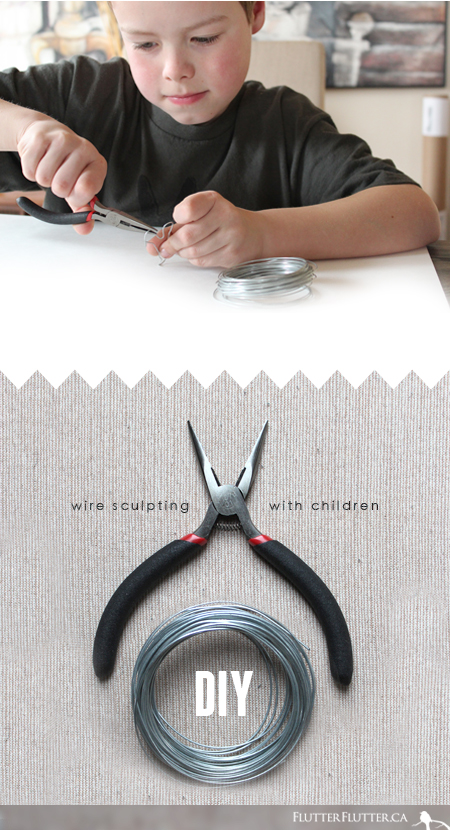
Spring Break DIY: Wire Sculpting

9

15.3.12

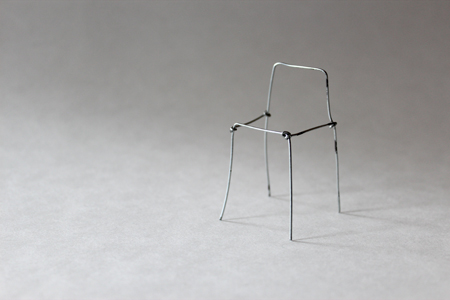
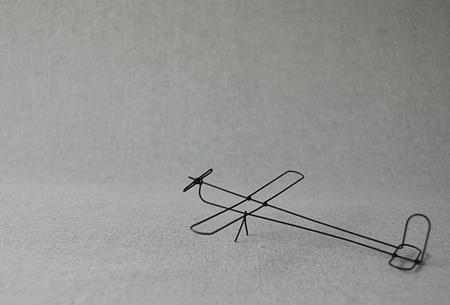
At a doctor’s appointment recently, my oldest was entertaining himself with a paperclip, bending it into shapes to pass the time. When we got home I found these images online, and was able to show him examples of amazing things that can be made with wire, skill and some creativity.

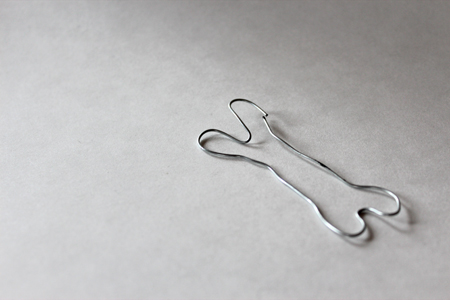
Just to give you an idea of age appropriateness, my seven year old was able to make this bone by himself, but my five year old would have needed help if he had been home. Supplies for this DIY project are easy, you just need some thin wire and a pair of pliers! I tried to make a chair and found out that constructing anything three dimensional was harder than I’d imagined. That’s where skill would come in handy! Regardless, it was so much fun to play with a new medium! I’ll definitely try this again!

Here are some of the inspiring pics that got us started – aren’t they amazing!

Artist: Masao Seki Photos copyright FIVE FROM THE GROUND

Spring Break DIY: Make A Volcano

18

13.3.12

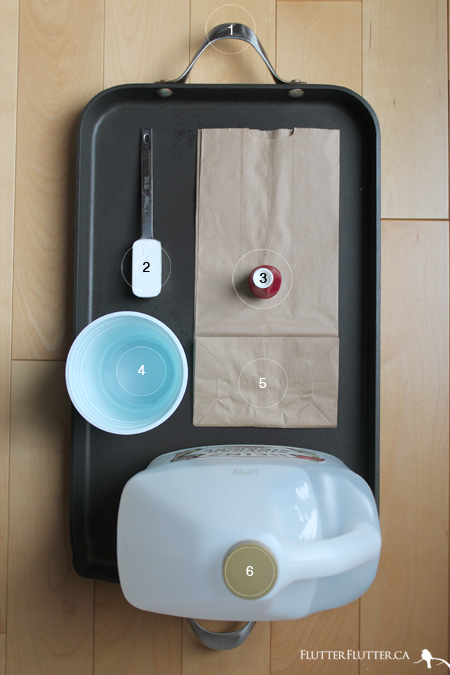
I like projects that are simple and easy to prepare. In my opinion, the set up should not take all day if the enjoyment only lasts ten minutes. This is the easiest volcano you can make, believe me! And kids of all ages like to see things explode! All you need are the following:

WHAT YOU WILL NEED:

1. A tray, or dish, that is large enough to catch all the “lava” that will come out!  2. 1 tablespoon baking soda  3. Red food coloring  4. A can, or plastic cup  5. Paper bag  6. Vinegar

DIRECTIONS:

1. Cut halfway up all four sides of the paper bag.
2. Put the paper bag upside down over top of the can or cup.
3. Tear a hole in the top of the bag, above the opening to the cup.
4. Push back the torn edges and tape to the inside of the opening.
5. Fill the cup 3/4 full of the vinegar.
6. Add in a couple drops of food coloring.
7. Have the kids decorate the tray for full effect.
8. Finally, add in the baking soda and watch it go! You can add more baking soda and vinegar to keep the “lava”, and the fun, flowing.

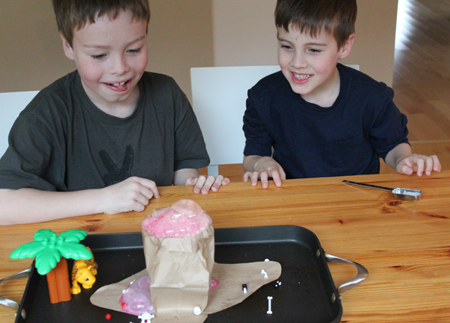
As you can tell from the smiles this activity was a hit! (My oldest is fishing out the Lego Ninjago skeletons that he’d thrown into the volcano as it was exploding… yes, boys will be boys!) I’d definitely do it again!

I hope the Spring Break DIY’s this week help to make any rainy days a lot more fun! I know I’m having fun making them. And there are more to come…!

Spring Break DIY: Eyebombing

32

12.3.12

I would rather jab my eye with a fork than play Pokemon cards again. Really. Can anyone else relate? Thanks to some quality phone time with a good friend, I know I’m not alone in this. I just needed to change my attitude and step it up a notch… for everyone’s sake! If you’re in the same boat, and are looking for activities that you can do with your kids over Spring Break, or on rainy weekends, I’ve put together some sanity-saving DIY’s this week!

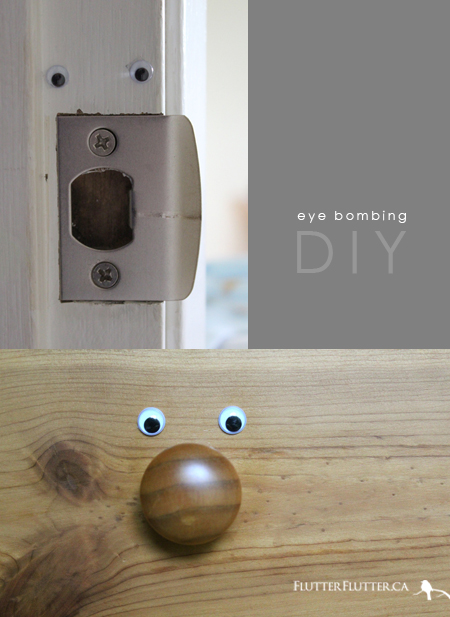
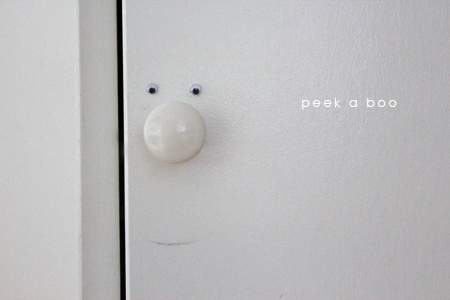
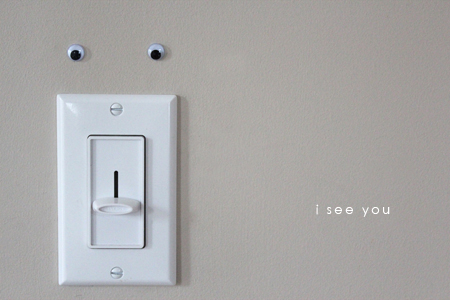
Have you heard of yarn-bombing before? I posted an example of it here… but I’m not a knitter, so I won’t be doing that. When I discovered eyebombing last week, I thought “HOW FUN! The boys would love this!” And I was right! My oldest and I spent a half hour placing eyes strategically throughout the house to surprise his younger sibling. It was really fun for us eye-bombers to watch all the faces being discovered with glee. And, now the younger one is excited to surprise his brother the next time he’s out.

This one’s good for the kid at heart too, don’t you think! I would love to hear what YOUR favorite activities are to do with kids! Oh, and stay tuned for more, because I’m only just getting started!

Photo Credit: Rosa Pearson (FlutterFlutter)

Theme by Blogmilk   Coded by Brandi Bernoskie