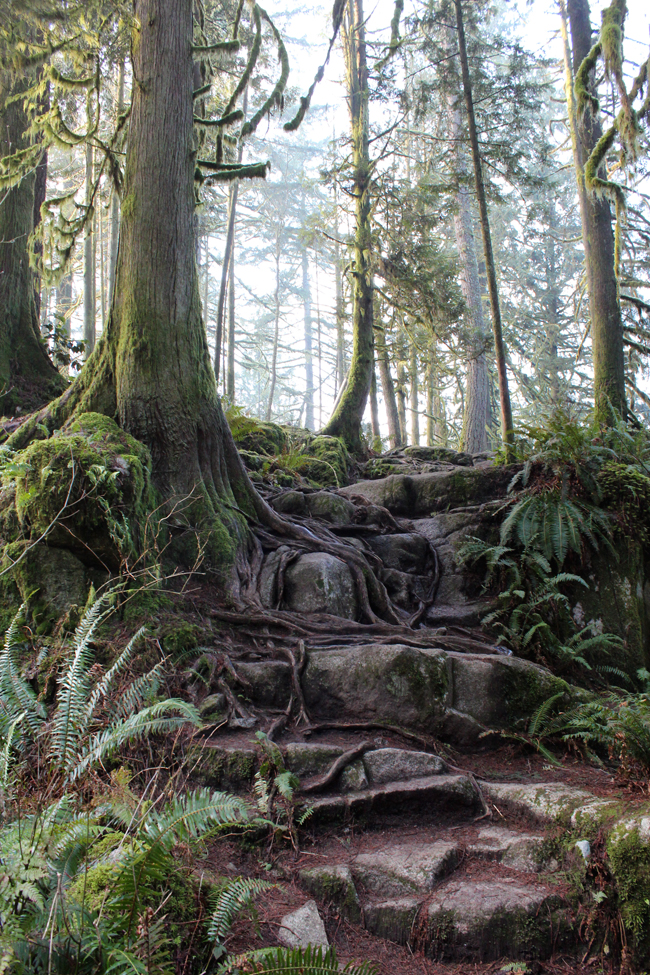

I am smitten with trees. And beaver dams. And the sound created when you throw rocks onto frozen marshes.

I am smitten with trees. And beaver dams. And the sound created when you throw rocks onto frozen marshes.
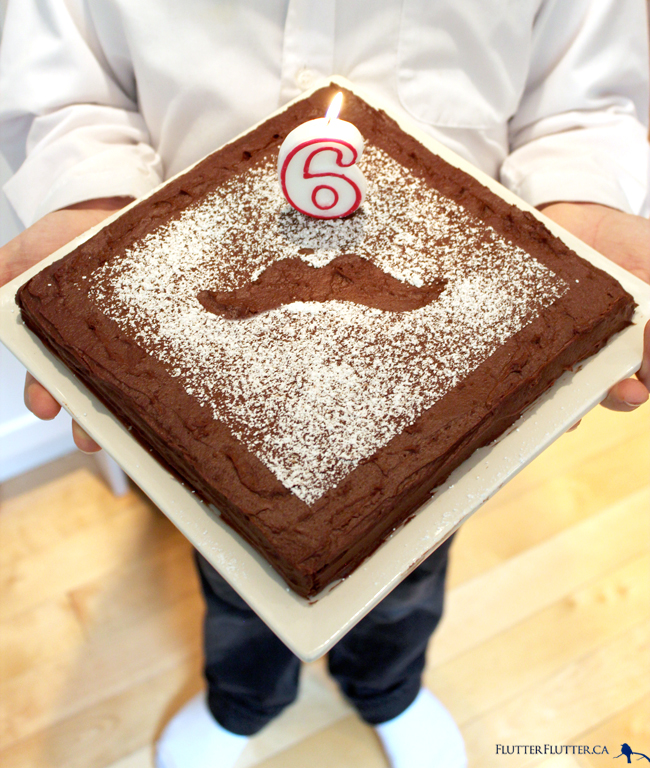
We celebrated a very special little boy this weekend! Our baby turned 6! If you follow along then you’ve already seen all the prep and the invitation. This post is about all the fun and games that ensued once the kids showed up! Which, of course, is what it’s all about! It’s definitely not about my mad cake decorating skills! Ha! Any cake professionals out there, please avert your eyes. As you can see I opted to take the same approach as I did on the last cake I made, cutting shapes out of wax paper and shaking some icing sugar over top to make a design that matches the party theme. Dirt simple. No shame. At the end of the day the cake tasted just as good.
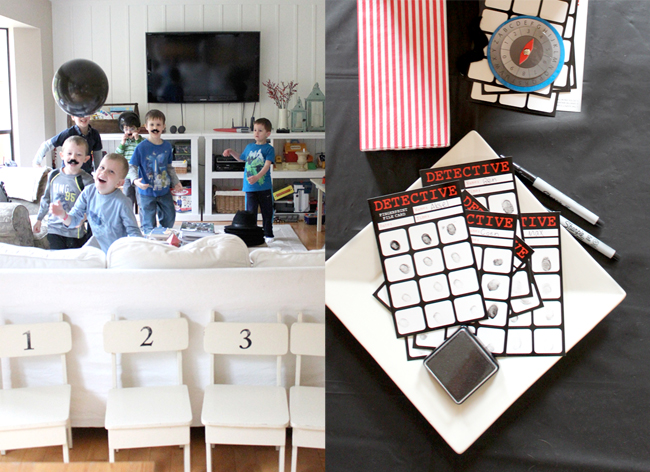
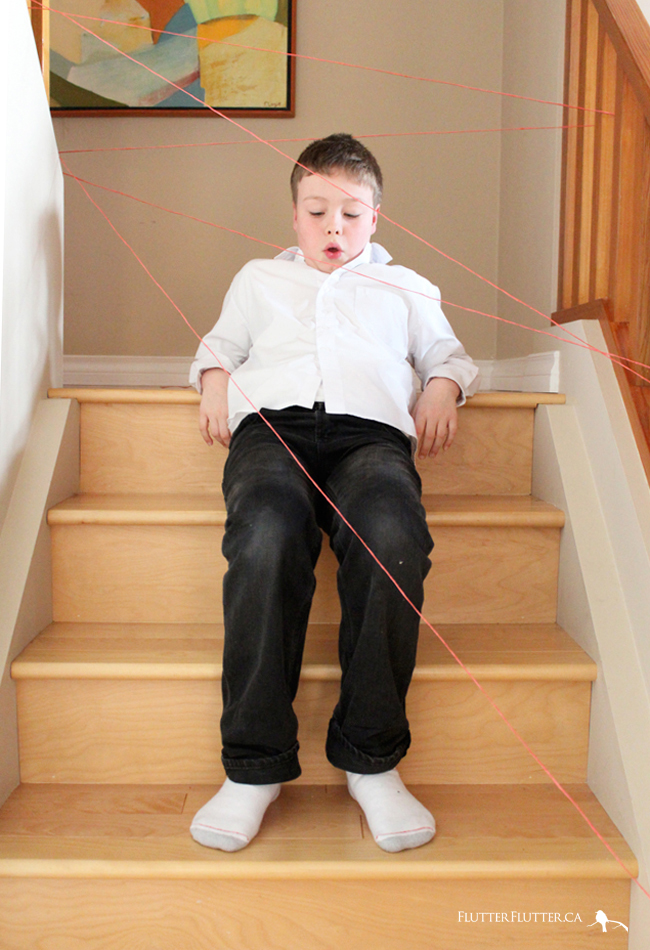
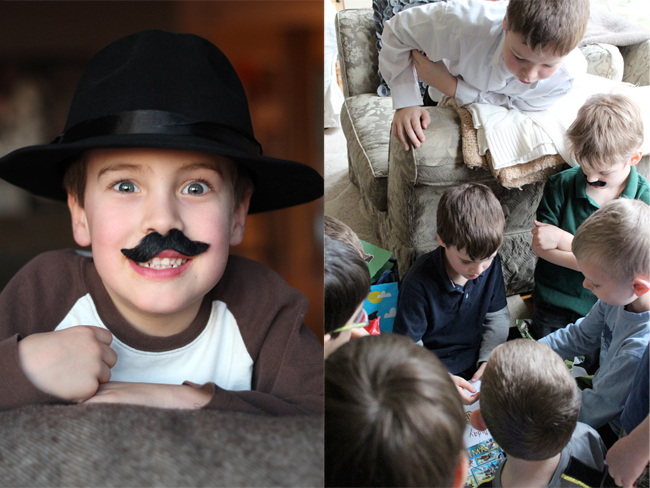
When the children arrived they received their super spy attire, consisting of a peel-and-stick mustache and a black hat. To make sure no imposters had made it through the door they were all asked to head straight to the table for fingerprinting… which they all thought was pretty cool. Then they played a game of “don’t let the bomb touch the floor or it will explode” (aka, work together to keep the black balloon in the air). It really doesn’t take much to get a group of six year old boys excited. The party favourite was an idea that is making its rounds on Pinterest, the “laser beam” obstacle course (aka, red neon twine). The boys were so excited to try and make it up the staircase without touching the laser beams.
I think that covers the highlights! Older brother has announced that he liked this party so much that he wants a complete redo for his birthday in the Fall. Sounds good to me!
Have a good week!
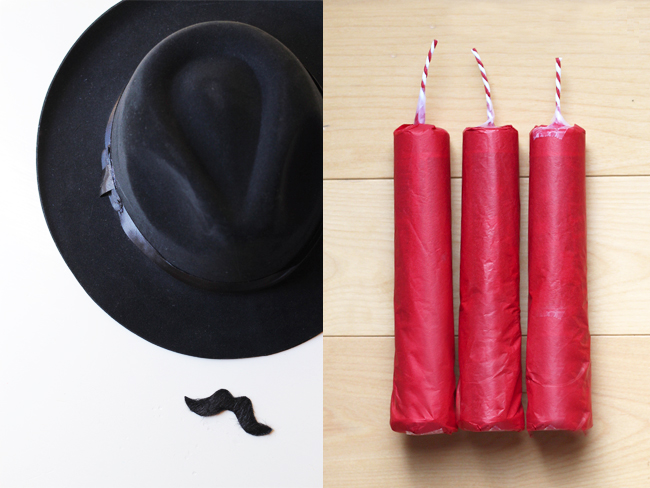
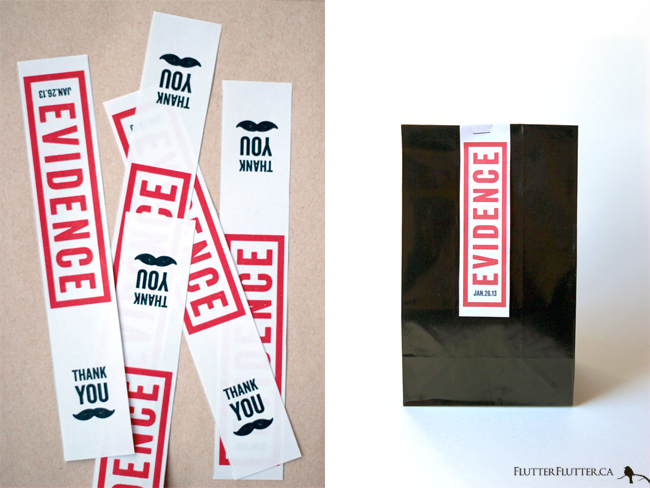

How was your weekend? I was busy getting organized for the big birthday party that’s coming up this week! We are now well stocked with spy hats and mustaches for the mini-spies arrival. And when it’s time to leave they will all be taking home an “evidence bag” which will include Top Secret Spy Notebooks sporting labels that I designed to coordinate with the invitations. Also, tubes of M&M’s wrapped in red tissue paper (aka “dynamite”), and some laser finger lights. Now I just need to think about food and games and we’ll be good to go! Oh how I love a good party theme!
I’ve got a busy week ahead, but I’m looking forward to it! How about you?
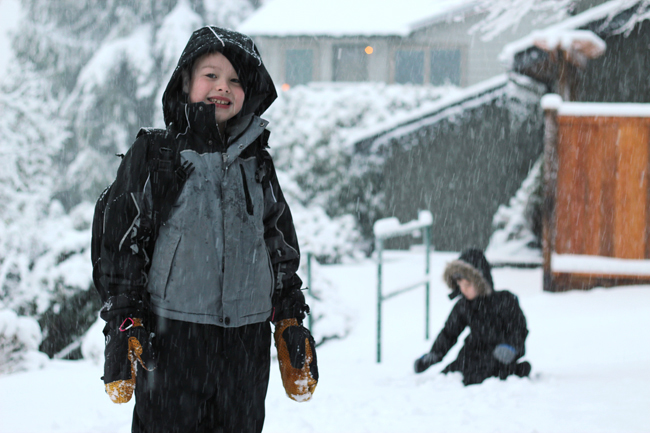
We had a lot of fun in the snow last week, and I’m missing it, so I’m looking forward to taking the boys sledding and to snowboarding lessons next week! I may even strap on some skis myself!
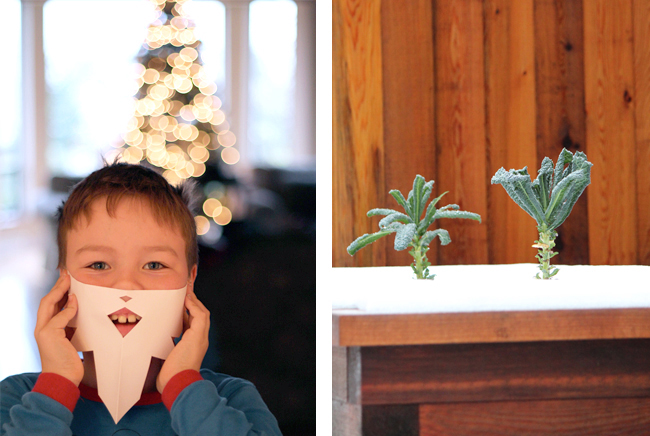
Do you like my attempt at a winter garden? There are six cabbage plants hidden under the snow too, but I’m guessing the likelihood that they are still alive is quite low. It was a lot more fun to run outside and grab kale for my morning shake when it was summertime! Brr!
If you have a moment, be sure to pop over to Rambling Renovators to check out Jen’s “Great Reads 2012″ today. I’m thrilled to be included on her list! Have a great weekend everyone!


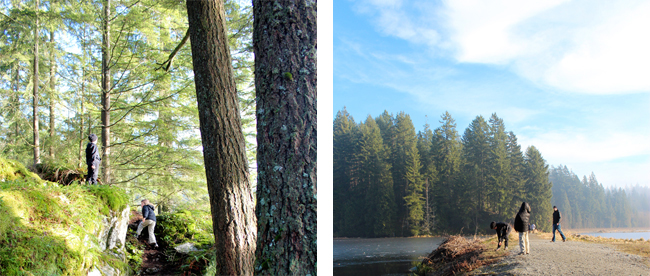
The pictures above show some of the moments that have been happening over here lately:
I want to take a moment to wish you all a wonderful Christmas season. I hope that your holidays are full of love and laughter with your family and friends. I also want to say a big thank you for visiting me here over the last year. I appreciate your comments and support so much!
PS – I’m over at Recreated sharing one of our family’s favourite Christmas traditions today, in case you’re curious.
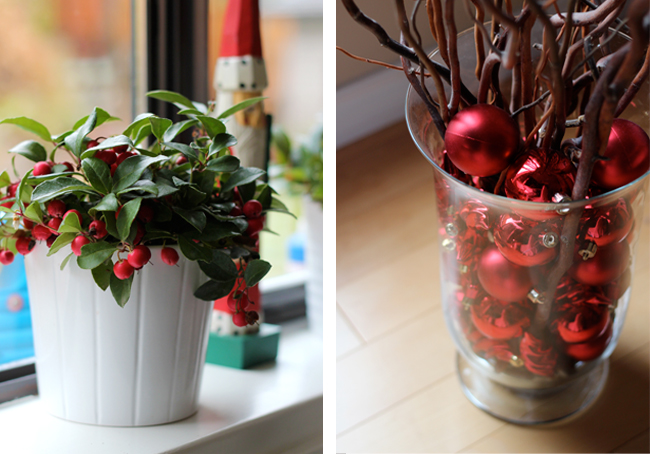
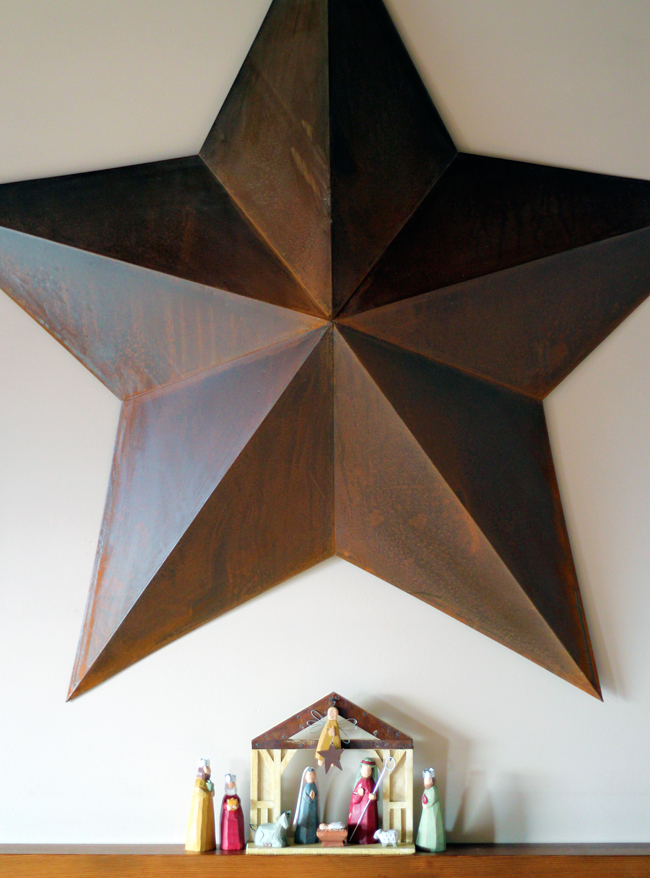
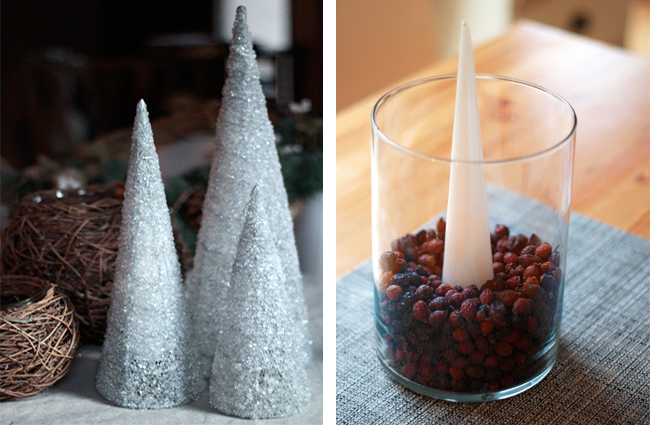
Here are 5 simple ideas to help bring a little holiday spirit into your decor:
Are you all done decorating for the holidays? I’m all about keeping it simple this year! I’m having to let some things slide that I usually wouldn’t, because I’m finding that my priorities have shifted, and there just aren’t enough hours in the day to do it all. For example, if you usually receive a Christmas card from me, you may get it via email this year, or not at all! I know! How will you ever recover! 😉


Last year my oldest came home from school with a pinecone ornament for our Christmas tree. I loved the look of the white painted tips, and wanted to add a lot more of them onto the tree this year! So, I collected some over the last year, and tonight we spent some time painting the tips of pinecones!
This is truly the easiest DIY ever! All you need is:


Do you add pinecones into the decorating mix at your house in the fall and winter seasons? Have you painted them before? Next I’d like to try dipping some pinecones to look like these ones (above) by Jessica Christman. Aren’t they pretty?!


Happy Friday! Enjoy the ones you’re with this weekend. And the little moments that can become so much bigger when you let them. Did I mention that I have started a photography “class” with the boys? I’ve been told I’m the teacher. I’ll tell you more about that later… it’s pretty fun.

I first tasted these muffins years ago at a play date with a bunch of moms and kids. I loved them, and asked for the recipe so I could make them myself! Now that life is gluten free, I have recreated them using gluten free flour, but you can easily switch them back just by replacing with wheat flour and omitting the xanthun gum. So yummy, and healthy too! Enjoy!
Also, if you have pumpkins kicking around still, you should try this muffin recipe that I posted last winter!
Have a great weekend everyone!


Thanks to Pinterest, I found this great idea for bat o’lanterns, made from mini pumpkins, of course! I adore them! The contrast of the black against all the orange of Halloween is perfect! And, if you’re looking for some cheap paint for your crafty projects, run to Home Depot right now. All the Martha Stewart test pots are on sale for 25 cents, and you can tint them to whatever color you want! I was there today, and picked up the black for this project. Yes, also 25 cents! (The paint line has been discontinued… so get them while you can!)
All rights reserved © Rosa Pearson Design
Theme by Blogmilk Coded by Brandi Bernoskie


